Arctic Abyss
 | |
| Game | Donkey Kong Country 2 |
|---|---|
| World name | K.Rool's Keep |
| Level name | Arctic Abyss |
| Previous level | Kreepy Krow |
| Next level | Windy Well |
Difficulty:
- Safe Zip: 5/10
- Optimal Zip: Himalayan Monk/10
- Enguarde: 9/10
Zip
Safe
Notes
- Arctic Zip is the fastest way to beat the level, saving around 15 seconds in the level.
- To bait the lockjaw, you want to do a wiggle with Dixie to always be within his attacking range.
- If you bait the lockjaw correctly, he will do three snaps then lunge at Dixie. You can use this as an auditory aid to setup a rhythm.
- The zip itself is based on swapping your kongs as the fish bites you. Both Dixie's position and how much distance there is between the kongs matter while setting it up. The exact timing may change depending on where you bait the fish, so be mindful.
- Note that by doing the zip you cannot do the Diddy windy big boi, losing about 3 seconds there.
Optimal
Notes
- Largely the same as the safer zip, but has the lockjaw lunge 9 times instead of 10.
- This saves 1.5 seconds, but has much tighter movement and camera manipulation as to not despawn the lockjaw.
- If at any point a bait feels iffy or like it may not work, you can just switch do the safer setup.
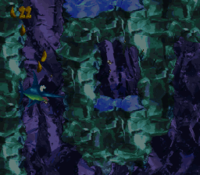
OPTIMAL VISUAL CUES
Enguarde
Notes
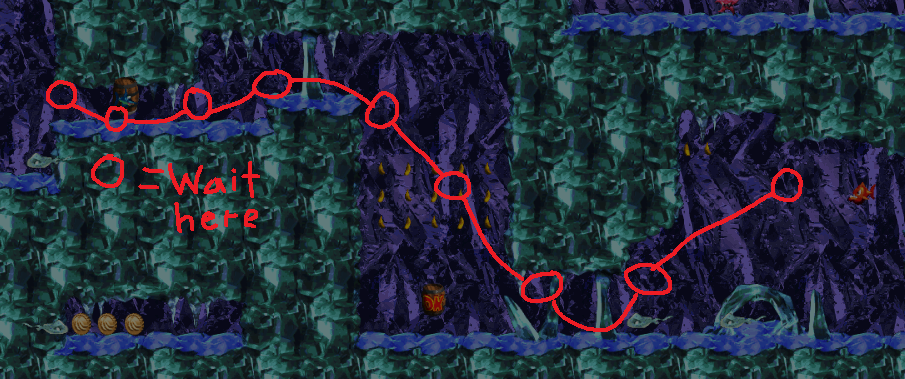
- The most important mechanic here is charge canceling with Enguarde. Do so by pressing the opposite direction during a charge, and then repressing the direction you want to go. This is used whenever you want to start going either up or down, as you normally can't move during a charge.
- Enguarde's hitbox isn't very intuitive. He can get hit between his thrusts. Charge canceling at the right time is crucial for this reason.
- At 0:21, there would normally be a Puffer. Despawning him is important, as he would be in your direct path (Reflected Tutorial).
- Although where you charge cancel matters for the despawn, your movement around the shaft at 0:17 matters just as much. You want to stay high.
- At 0:21, this charge would normally be canceled early. To prevent this, briefly tap Left at the top of the water before starting your charge.
- At 0:23, this charge cancel matters for getting optimal movement during the midway section. There are multiple ways to perform this, but here's the setup shown in the video:
- Shortly after killing the starfish, briefly press Right to cancel your charge, then start holding Down, and then let go of Right after you've started to hold Down. Continue to hold Down until you're in position. Initiating your charge cancel too early will result in taking damage to the 2nd starfish. Too late will result in hitting the wall.
- After you've pressed Down long enough so that you're in position, hold Up + Left and initiate a lunge.
- You can find an alternative setup in Claude's arctic here.
- At 0:28, knowing when to ascend is crucial for not taking damage to the starfishes. The tape starts holding Up when Enguarde's tail fin is in line with the start of the right wall.
- At 0:46, charge when Enguarde is at the top of the falling water to get pulled down with it.
- It is possible to avoid the goal's fanfare even when underwater. Swim down to trigger the water's decent, swim back up to above the ledge, swap in preparation for Diddy Windy, move to the edge of the ledge, and then hold Down + Right to slide off the ice while crouching. Once Diddy touches the ground, simply swim to the target while still holding down.
- Note that where you start your final charge matters for this trick. Initiating it higher will give you much less time since the water will descend much faster.
