Difference between revisions of "Chain Link Chamber"
Cryptonberry (talk | contribs) (→Optimal) |
(→Safe) |
||
| Line 64: | Line 64: | ||
| − | <div class="toccolours mw-collapsible mw-collapsed" style="width: | + | <div class="toccolours mw-collapsible mw-collapsed" style="width:800px"> |
'''ADDITIONAL WRONG WARP ID HELP''' | '''ADDITIONAL WRONG WARP ID HELP''' | ||
<div class="mw-collapsible-content"> | <div class="mw-collapsible-content"> | ||
[[File:Clcscience.png]] | [[File:Clcscience.png]] | ||
*How you fall from the top platform will influence your IDs for the wrong warp spawn | *How you fall from the top platform will influence your IDs for the wrong warp spawn | ||
| − | *'''Red lines''' in the above image indicate a fall (too close and too far from the wall) that will result in an unsuccessful | + | *'''Red lines''' in the above image indicate a fall (too close and too far from the wall) that will result in an unsuccessful cannon spawn (''IDs will be incorrect'') |
*Stay close to using the '''green lines''' when falling (''IDs will be correct'') | *Stay close to using the '''green lines''' when falling (''IDs will be correct'') | ||
| + | [[File:Clc_ww.png]] | ||
</div> | </div> | ||
</div> | </div> | ||
Revision as of 05:26, 25 February 2017
 | |
| Game | Donkey Kong Country 2 |
|---|---|
| World name | K.Rool's Keep |
| Level name | Chain Link Chamber |
| Previous level | Clapper's Cavern |
| Next level | Toxic Tower |
Difficulty:
- Safe: 6/10
- Optimal: 7/10
Contents
Any%
Safe
Notes
- If you fail, you can enter the cannon bonus and die to reset the enemies.
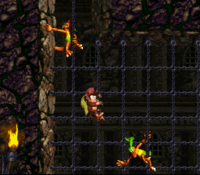
WRONG WARP TUTORIAL
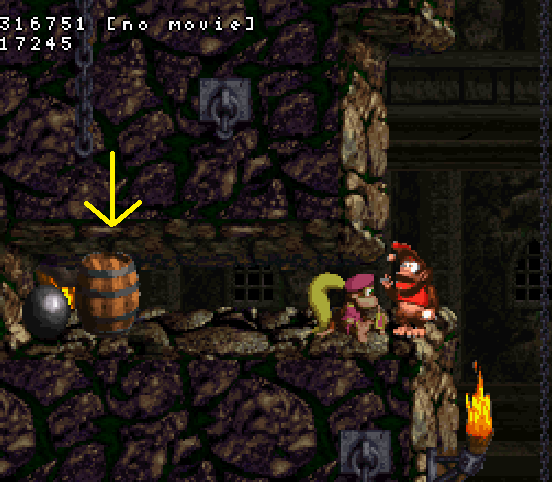
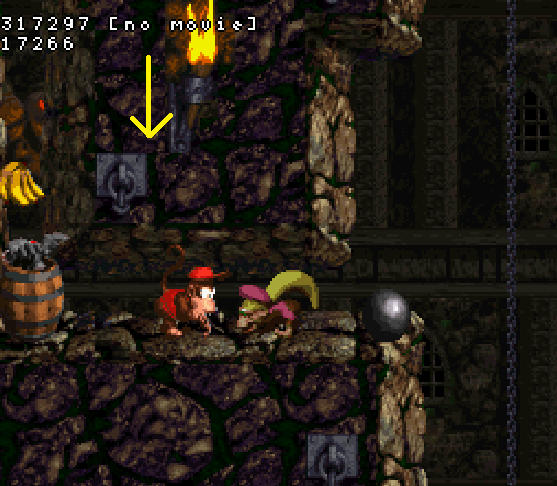
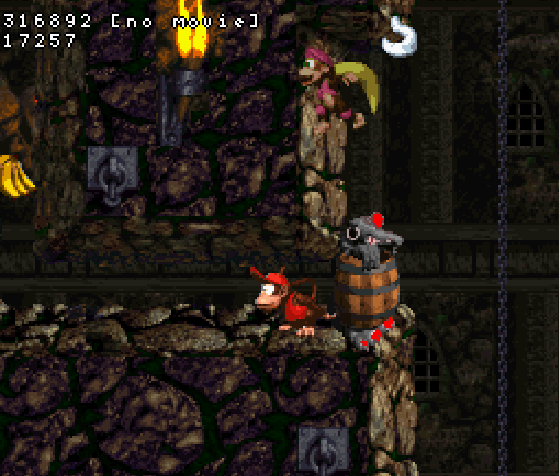
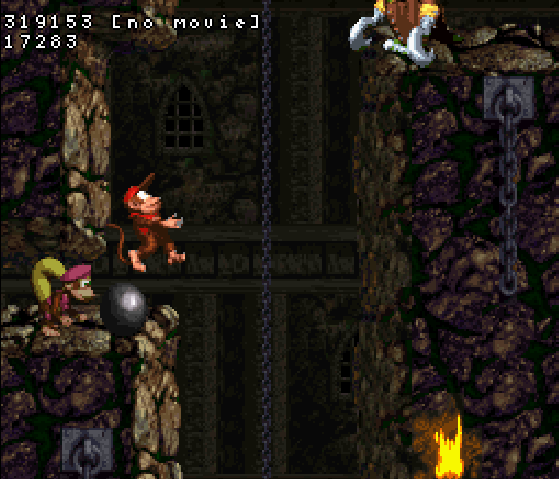
- When you get to the platform with the Klobber and the cannonball, kill the Klobber (this sets up correct IDs for later).
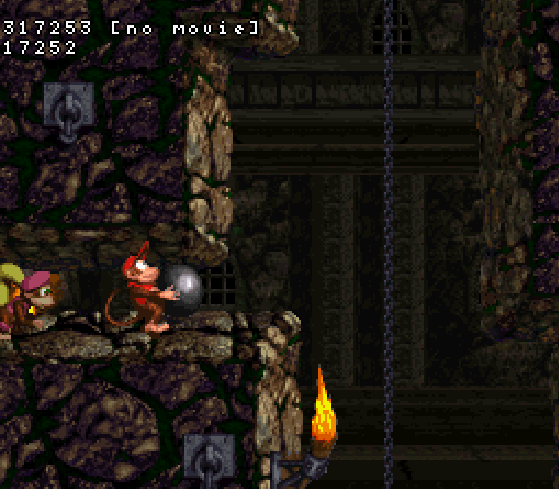
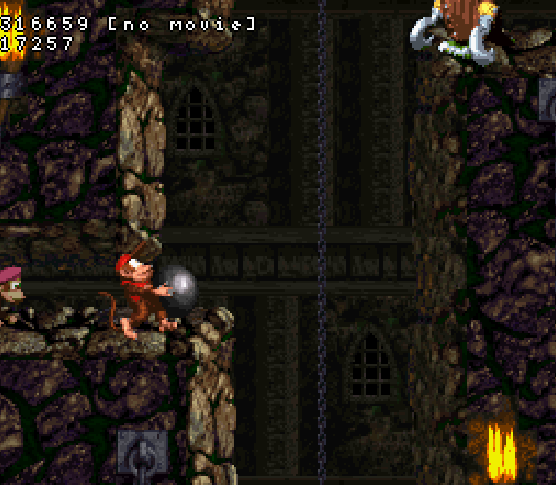
- After killing him, run right until you fall off (holding the cannonball).
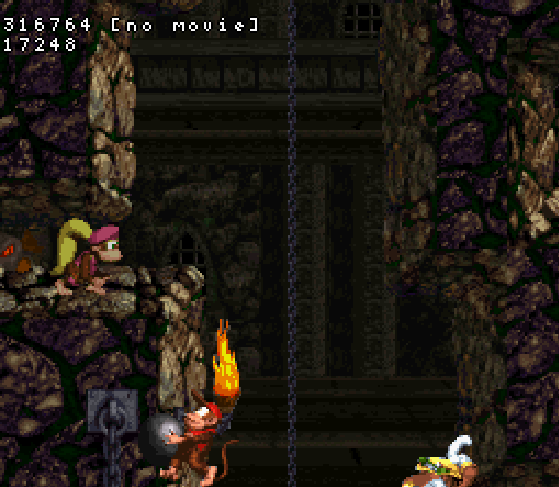
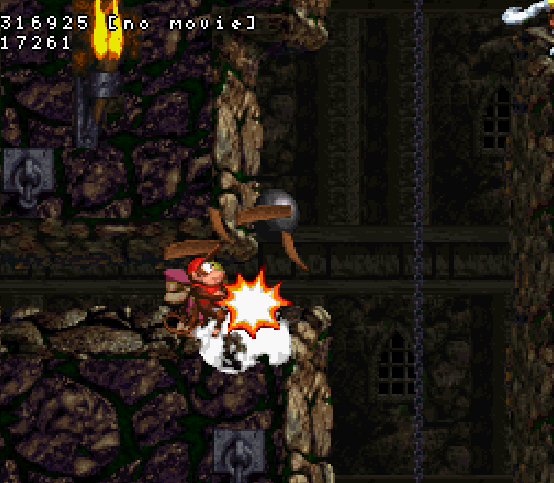
- After falling off, hold left and Y until you reach the right side of the metal plate holding the chainlink (you will automatically drop the cannonball after falling on the Krook).
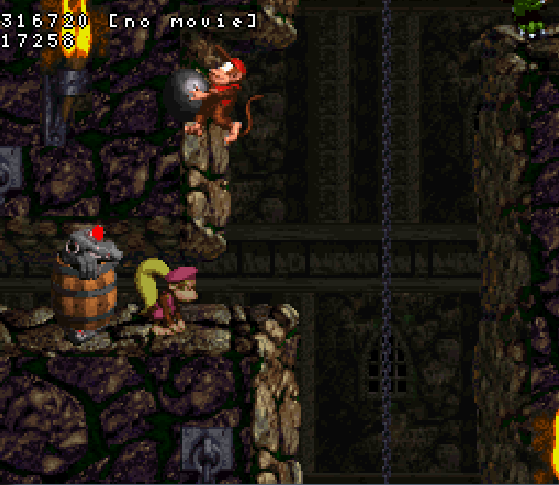
- Hold right when you reach the spot and go grab the cannonball.
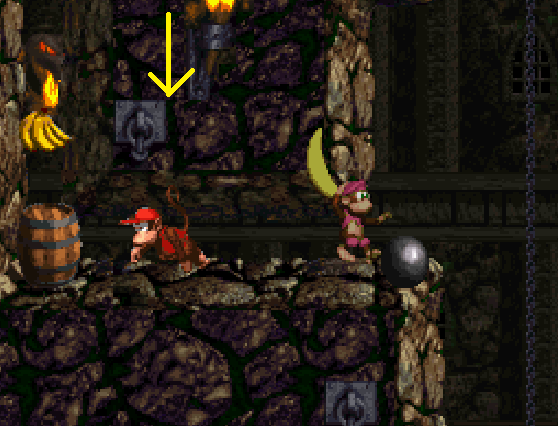
- After you grab the cannonball jump to the left while still holding left.
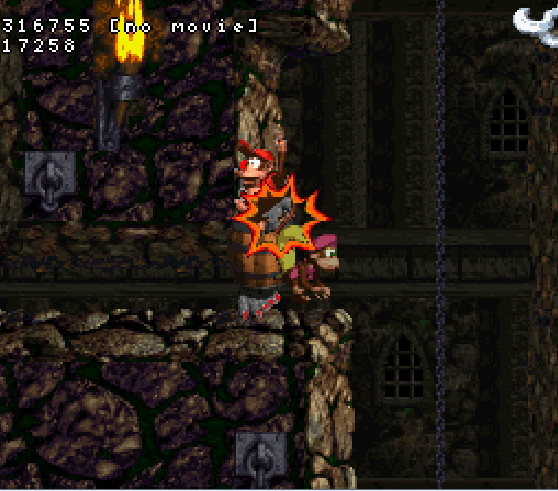
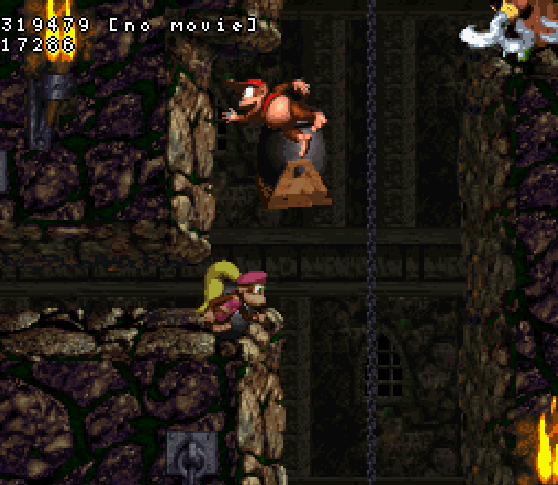
- You will then land on the Klobber that is running towards you and automatically drop the cannonball again.
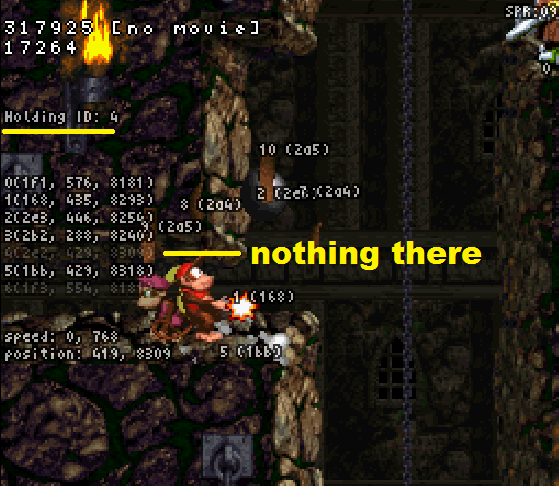
- Do a little wiggle to the left then immediately hold right and grab the cannonball/Klobber. This will give you invisible barrel.
- Walk right a little bit and wait.
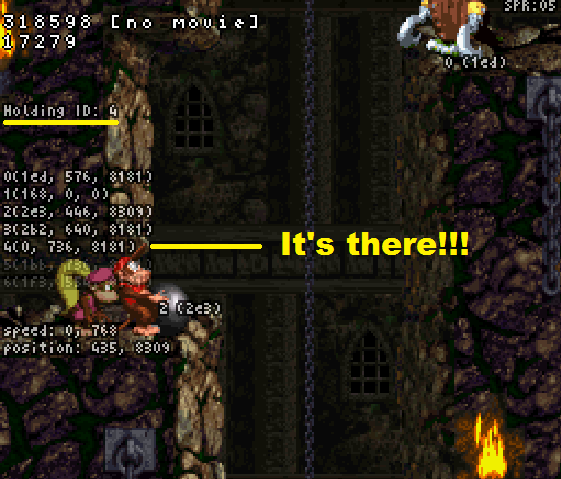
- You're waiting for the bonus cannon (further right) to spawn off screen and match the ID of the invisible barrel (ID 4).
- You're waiting for the bonus cannon (further right) to spawn off screen and match the ID of the invisible barrel (ID 4).
- After waiting, do a short jump to the right and throw left, spawning the cannon.
- Finally, grab the cannonball, jump into the cannon and you win!
ADDITIONAL WRONG WARP ID HELP
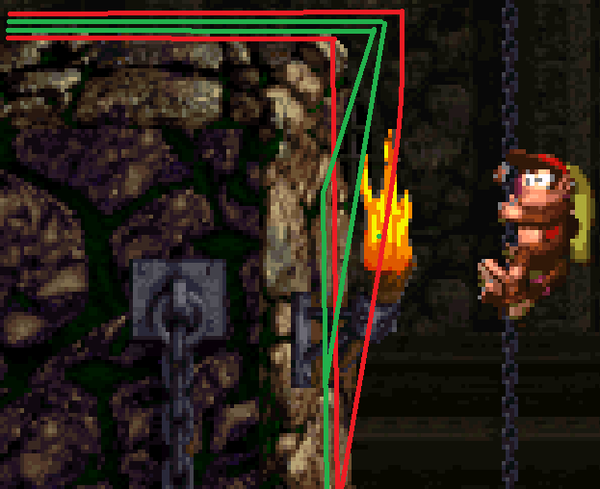
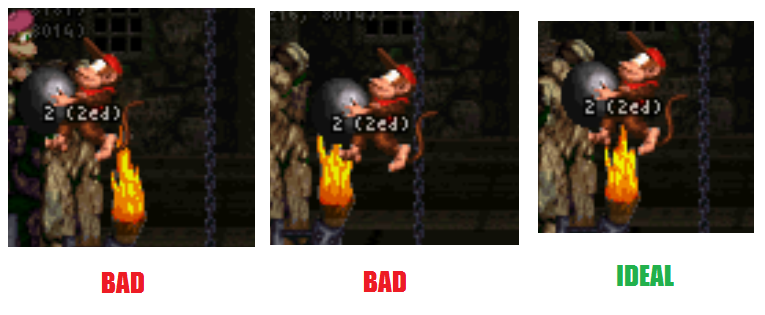
- How you fall from the top platform will influence your IDs for the wrong warp spawn
- Red lines in the above image indicate a fall (too close and too far from the wall) that will result in an unsuccessful cannon spawn (IDs will be incorrect)
- Stay close to using the green lines when falling (IDs will be correct)
Optimal
Additions
- To gain momentum at the start, roll to the right instead of jumping (Saves ~.15s).
- Instead of throwing the Klobber to kill him, drop him onto the cannonball (Saves ~.15s).
- In order to throw the invisible object as soon as possible, create it as much to the left of the barrel as you can so you would get a running start which would correctly set the camera for the cannon.
- Try to make the cannon appear as close to the cannonball as possible.
Backup
Notes
- You will never get the invisible object if the Klobber turns around (as seen in the first clip).
- The second clip shows a backup if the Klobber does turns around.
