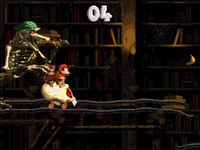
Haunted Hall
 | |
| Game | Donkey Kong Country 2 |
|---|---|
| World name | Gloomy Gulch |
| Level name | Haunted Hall |
| Previous level | Ghostly Grove |
| Next level | Gusty Glade |
Difficulty: Tupac Shakur/10
Any%
Optimal
Notes
- Jump up all upwards slopes, no matter the size.
- Jumping down small slopes will lose you time. Aim to jump down large slopes only.
- Jumping on flat ground loses time, with some exceptions.
- Jumping into the transition doors also saves minimal frames. Aim as high as you can.
- These may not feel like much, but an optimal Haunted Hall route can save up to 5-6 seconds over a casual route.
- Jumping over the bees at 1:14 can be tricky. You have to get really close to their hitboxes (note that there is only one bee in the J version).
- You do not need to hold Right or Y in this stage.
Optimal Alternative
Notes
- Precisely follow where the video jumps and the size of these jumps. Failing to do so will cause you to not save nearly as much time as you could.
- Nearly every jump has a visual cue at a railroad tie or wooden post (or shortly after one, in a few cases).
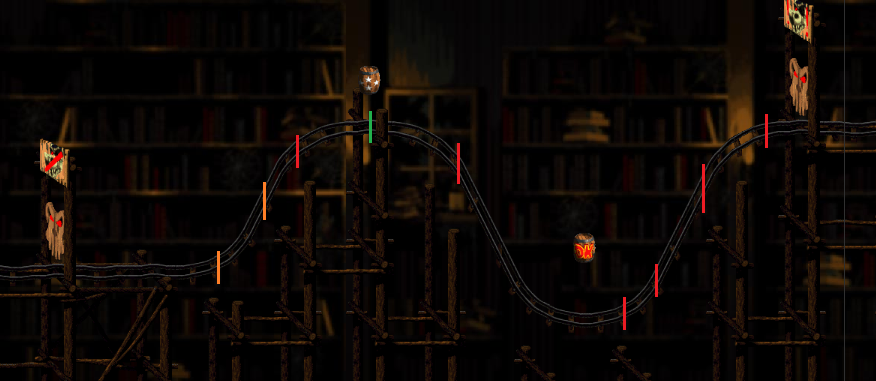
- See the Optimal Alternative Map bellow for precise visual cues and jump heights.
- This route is difficult to learn/memorize, but saves ~.6s over Djeez' route.
- Bizhawk practice scripts: J U (uses the most updated route). See the section below for more info.
Map of Optimal Alternative
- Imgur Album.
- You should be jumping when the teeth of your cart touch the start of a line. Keep in mind that it takes a few frames for your cart to jump after pressing B. The lines in these images are precise to the pixel.
- Note that all consecutive jumps are buffered.
- White = A small jump is more optimal, but you should probably do a slightly larger jump for safety.
- Green = Smallest possible jump.
- Orange = Medium jump. It's on the larger side of medium, though (hard to explain).
- Red = Largest possible jump.
- Don't perform the crossed-out jump (I'm too lazy to remake the entire thing).
- For the jump down the 1st large slope, prioritize doing the earliest possible jump rather than grabbing the 1st [+] barrel. Grabbing the 2nd [+] barrel only loses half a frame's worth of distance.
- Don't perform the crossed-out jump.
- Minor Corrections: The 3rd and 4th gap jumps should be initiated as late as possible.
- Don't perform the crossed-out jumps.


