Kannon's Klaim
 | |
| Game | Donkey Kong Country 2 |
|---|---|
| World name | Crocodile Cauldron |
| Level name | Kannon's Klaim |
| Previous level | Hot-Head Hop |
| Next level | Lava Lagoon |
Difficulty:
- Safe: 1/10
- Optimal: 5/10
Contents
Any%
Safe
Optimal
Notes
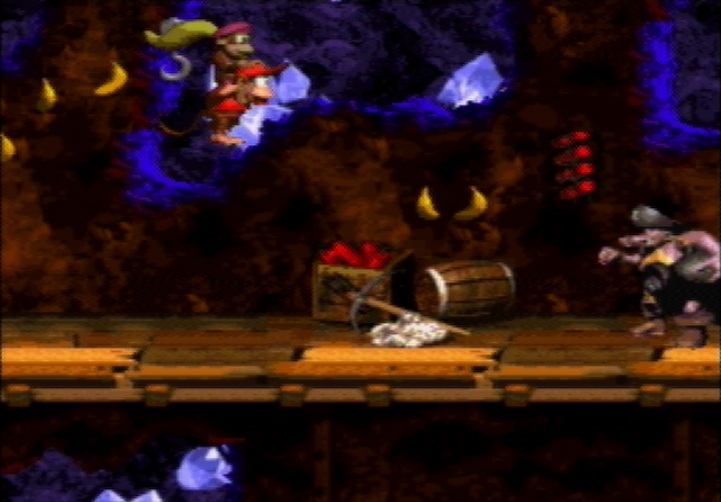
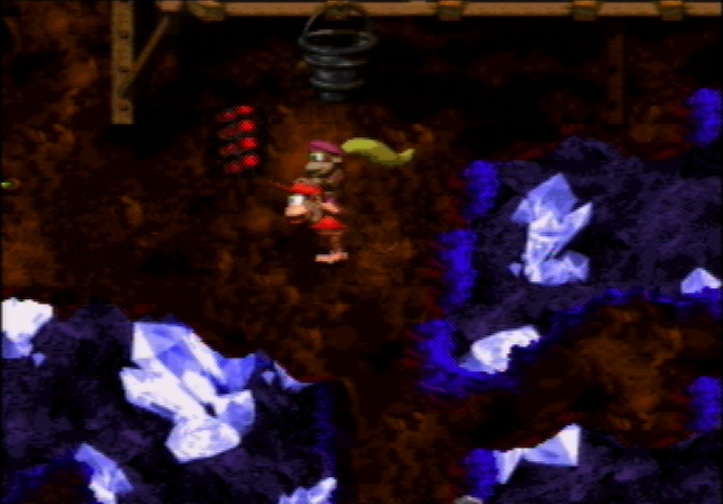
- Team Throw Super Jump (This one saves 2.5s to 3s).
- Off-Goal swapping
TEAM THROW SUPER JUMP TUTORIAL
- While on the ground, team-up with Dixie.
- Jump up so that Diddy is right next to the hook.
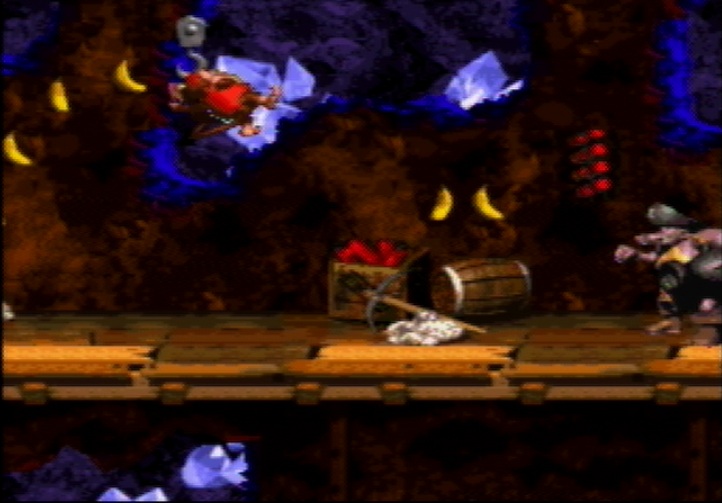
- At the peak of Diddy's jump, throw Dixie.
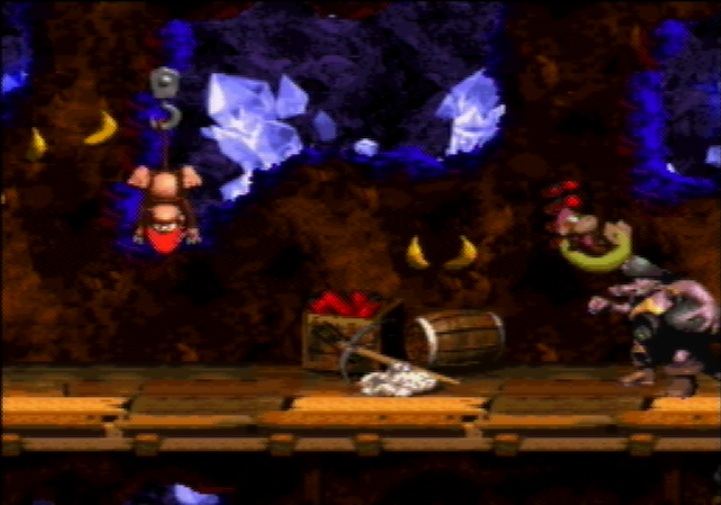
- The recoil from the throw will place Diddy on the hook.
- If Diddy doesn't land on the hook, then you were too far right and the recoil was not able to place Diddy onto the hook.
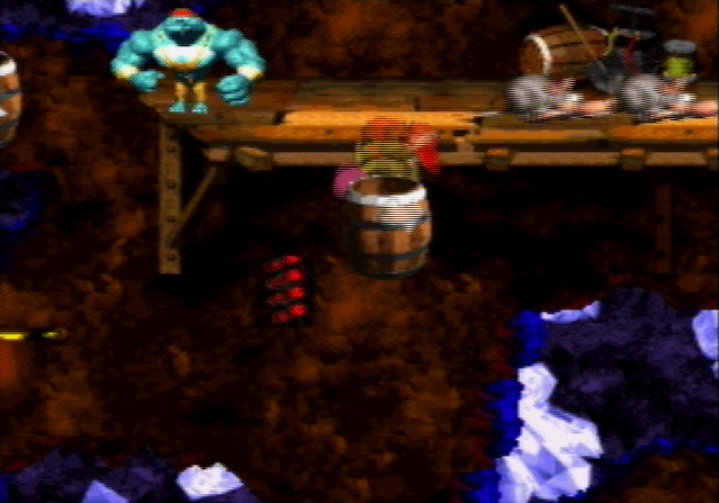
- Right when Dixie hits the Kannon and begins traveling back to Diddy, jump.
- You want to immediately press and hold jump again before Dixie gets back to Diddy.
- The timing on these jumps is tight; if you were too slow in jumping, then Diddy will just fall. If you were too fast in jumping, you will not maximize your height, and not spawn the barrel.
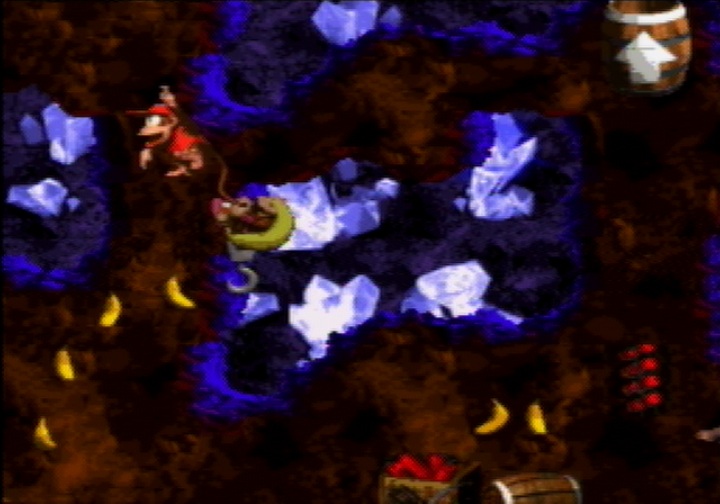
- If you made it this high, then your jump is good on height. All that's required now is to make the warp barrel in one throw.
- If your height is not enough, you can try throwing a second time after Dixie comes back from hitting enemies on the platform above.
- If your height is really not enough, even the second throw will hit nothing.
- If your height is not enough, you can try throwing a second time after Dixie comes back from hitting enemies on the platform above.
- The way the camera pans affects the loading of the warp barrel, but not too much is known about that.
- Done!
- As a recap, the inputs are:
- A (team-up)
- B (jump to the right of the hook)
- Y (throw Dixie at the Kannon)
- B (jump off the hook as Dixie hits the Kannon and begins tracking back)
- B (jump when Dixie is coming back to you. This input is much faster than you would expect it to be, and you typically want to press and hold B to maximize height)
