Difference between revisions of "Kleever's Kiln"
Cryptonberry (talk | contribs) m (→Optimal) |
Cryptonberry (talk | contribs) m (→Optimal) |
||
| Line 24: | Line 24: | ||
'''Notes''' | '''Notes''' | ||
*At 0:12, cancel the pick-up animation by pressing B to jump. Then you should let go of Y as soon as possible so you won't perform a jump, and then repress Y fairly quickly to not perform a roll (Saves ~.2s). | *At 0:12, cancel the pick-up animation by pressing B to jump. Then you should let go of Y as soon as possible so you won't perform a jump, and then repress Y fairly quickly to not perform a roll (Saves ~.2s). | ||
| − | **You should buffer the jump to the hook | + | **You should buffer the jump to the hook at the end of your throwing animation. |
**Note that if the cannonball spawns closer to the middle, you won't need to cancel the pick-up animation since it would already be complete by the time you would need to throw. | **Note that if the cannonball spawns closer to the middle, you won't need to cancel the pick-up animation since it would already be complete by the time you would need to throw. | ||
**Also note that if you get really bad luck, it's safest to perform the old strat by placing the cannonball on Kleever. | **Also note that if you get really bad luck, it's safest to perform the old strat by placing the cannonball on Kleever. | ||
Revision as of 04:48, 6 January 2019
 | |
| Game | Donkey Kong Country 2 |
|---|---|
| World name | Crocodile Cauldron |
| Level name | Kleever's Kiln |
| Previous level | Squawk's Shaft |
| Next level | Barrel Bayou |
Difficulty:
- Safe: 2/10
- Optimal: 8/10
Any%
Safe
Notes
- Do a short jump before throwing to instantly turn around.
- There is no clear route for navigating the hooks. You will have to practice the fight and learn how quickly Kleever moves around, and find a comfortable route from there.
- The cannonball spawns are random. While the RNG factor is not as important as in Krow's Nest, it can still slow you down.
- On the first hook cycle, boost yourself on Kleever to reach the 2nd hook.
- While not displayed in the above video, if the very first cannonball spawns right next to Kleever, you can hit him while lifting it.
Optimal
Notes
- At 0:12, cancel the pick-up animation by pressing B to jump. Then you should let go of Y as soon as possible so you won't perform a jump, and then repress Y fairly quickly to not perform a roll (Saves ~.2s).
- You should buffer the jump to the hook at the end of your throwing animation.
- Note that if the cannonball spawns closer to the middle, you won't need to cancel the pick-up animation since it would already be complete by the time you would need to throw.
- Also note that if you get really bad luck, it's safest to perform the old strat by placing the cannonball on Kleever.
- The optimal route will save ~4 seconds over the safe route. It involves the "Lava Fly" and is not recommended for new players. You can potentially lose a minute for only a 4 seconds save!
- For the two final phases of this fight, try hitting Kleever as you pick the cannon ball up. You can take the hook section in many different ways to achieve this, so do whatever is most comfortable for you.
LAVA FLY TUTORIAL
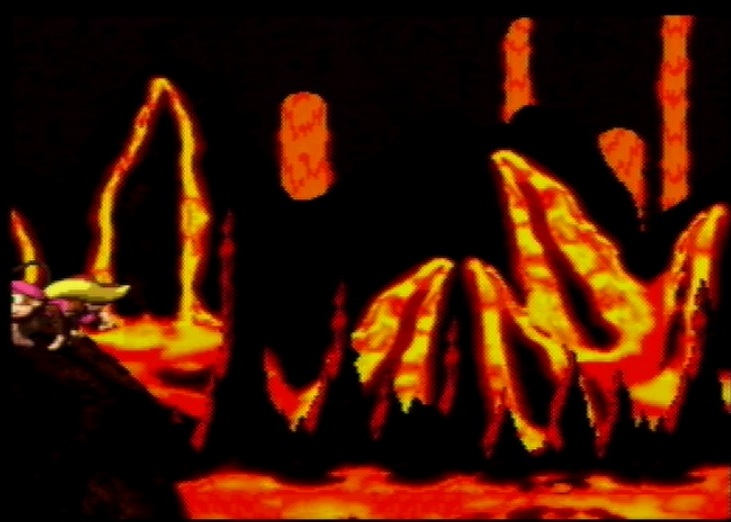
Make sure you're as far left as you can be.
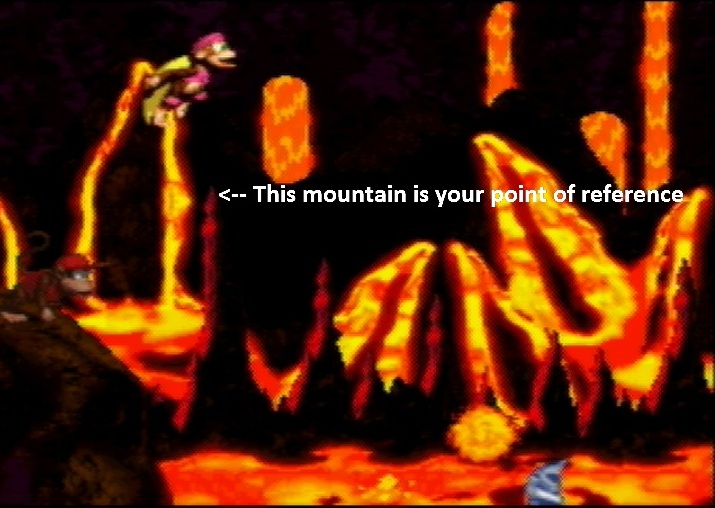
Begin your hover when Dixie is right above the peak of this mountain, or just buffer it.
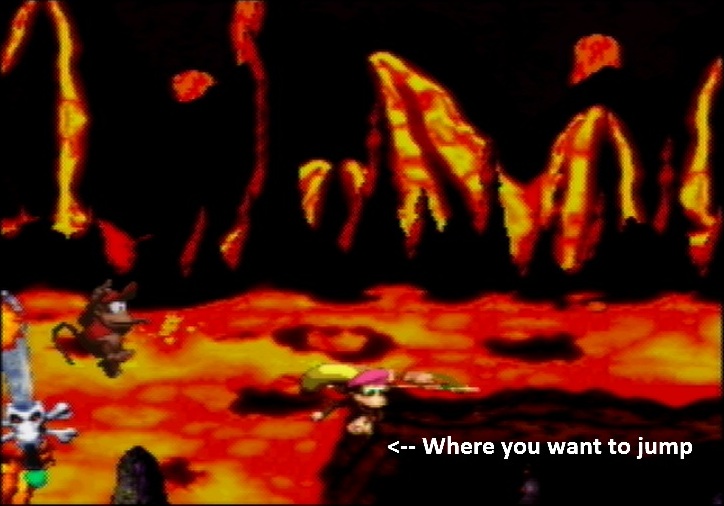
Press and hold B while holding down. Don't let go of down until you've jumped.
Notes
- When landing on the ledge, you want to hold down and buffer your jump.
- This works, because right before you land after jumping, you can "buffer" jumps.
- If Dixie doesn't make it to the ledge and just hovers past, then your initial jump+hover with Dixie was bad.
- If you make the jump, the trick is not over yet; you must have Kleever attack you in order for the hooks to spawn. Knowing the timing to lure Kleever just comes with practice!
ALTERNATIVE LAVA FLY TUTORIAL (buffered inputs therefore unfailable)


