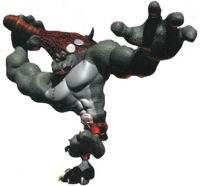
Kudgel's Kontest
Revision as of 04:30, 1 December 2019 by Cryptonberry (talk | contribs)
 | |
| Game | Donkey Kong Country 2 |
|---|---|
| World name | Krem Quay |
| Level name | Kudgel's Kontest |
| Previous level | Bramble Blast |
| Next level | Hornet Hole |
| Previous level | Bramble Blast 102% |
| Next level | Hornet Hole 102% |
Difficulty:
- Safe: 0/10
- Quick-kill: 5/10
Any%
Safe
Notes
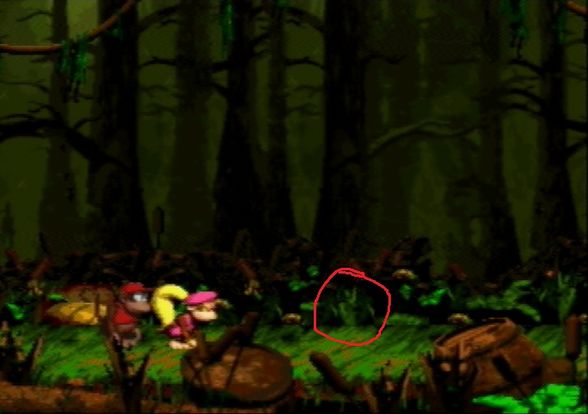
- Use the yellow plant in the background to align Dixie's throw spot with.
Quick Kill
Notes
- It saves up to 2s over the non-quick kill method, depending on how optimally it is performed.
- Missing a cycle costs approximately 10 seconds, depending on which cycle is dropped.
- In order to time when Dixie should run, you must pick up the TNT immediately when it spawns.
- After grabbing the barrel, Dixie's breathing is used to measure when you should start running.
- 1st cycle - ~6 breaths (start of the sixth exhale)
- 2nd cycle - ~4 breaths (start of the fourth exhale)
- 3rd cycle - ~2 breaths (right after second exhale)
- 4th cycle - ~3 breaths (start of third inhale)
- 5th cycle - ~2 breaths (just before second exhale)
- 6th cycle - ~1 breath
- In general, the timing for when to start running is usually faster than you would think. You don't wait for the complete full breathe to occur, you start right on the last breath of any cycle.
IMPORTANT VISUAL CUE
Alternative Setup
Notes
- This Alternative Setup uses jumps instead of counting Dixie's breath as the cue for when to move.
- Pay attention to at what point during Dixie's barrel pick-up animation a jump is initiated (pickup animation complete or midway through).
