Difference between revisions of "Mainbrace Mayhem"
(→Backups) |
(→Safe) |
||
| Line 22: | Line 22: | ||
| − | ===Optimal (Wrong Warp)=== {{#ev:youtube|vjFgT3W5cGE|560||http://www.youtube.com/watch?v=vjFgT3W5cGE}} | + | ===Optimal(Wrong Warp)=== {{#ev:youtube|vjFgT3W5cGE|560||http://www.youtube.com/watch?v=vjFgT3W5cGE}} |
'''Notes''' | '''Notes''' | ||
*[http://dkcspeedruns.com/Tricks#Wrong_Warp Wrong Warp] | *[http://dkcspeedruns.com/Tricks#Wrong_Warp Wrong Warp] | ||
Revision as of 17:49, 24 July 2015
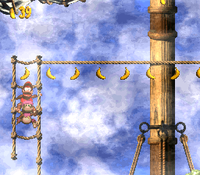 | |
| Game | Donkey Kong Country 2 |
|---|---|
| World name | Gangplank Galleon |
| Level name | Mainbrace Mayhem |
| Previous level | Pirate Panic |
| Next level | Gangplank Galley |
Difficulty:
- Safe: 0/10
- Optimal: 5/10
Contents
Any%
The wrong warp route is intended for players who have some experience running the game already. Do not try if this is your first attempt!
Safe
Notes
===Optimal(Wrong Warp)===
Notes
- Wrong Warp
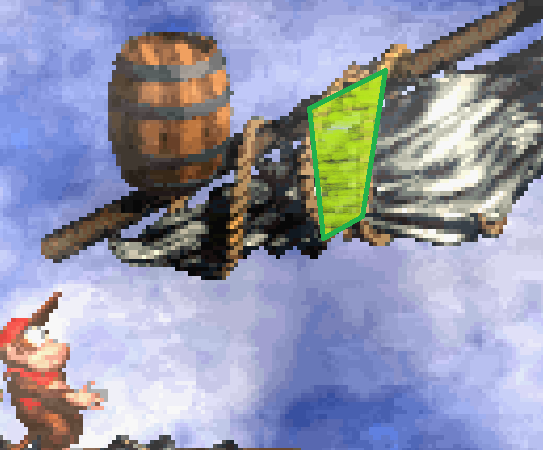
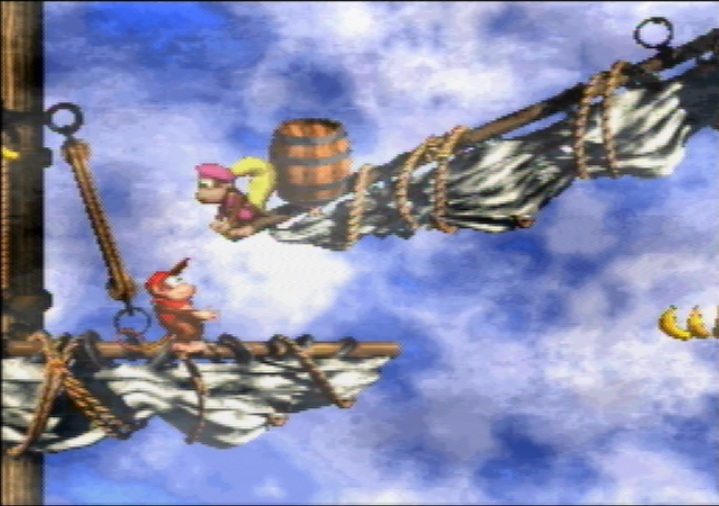
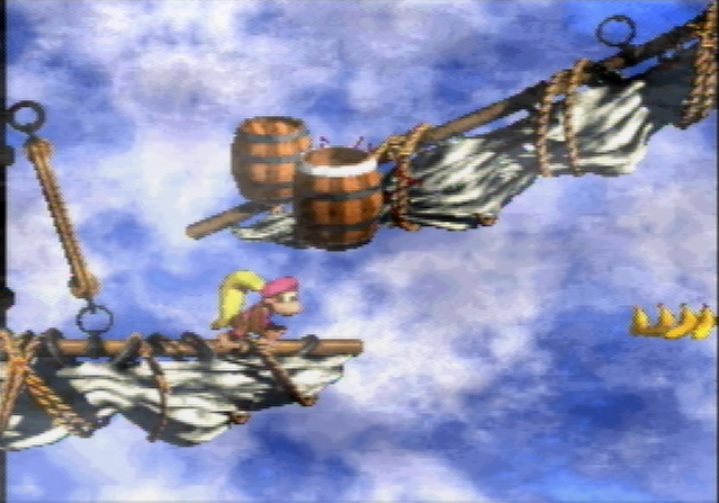
- Invisible Barrel
- Beetle Clashing
- The wrong warp will only save ~3s if done optimally and will lose 15s if failed. It is not recommended to go for this trick unless you are confident in your ability to land it!
Guidelines
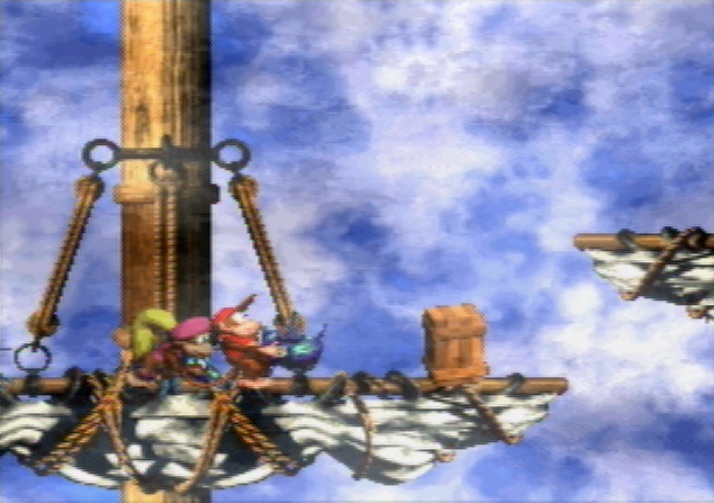
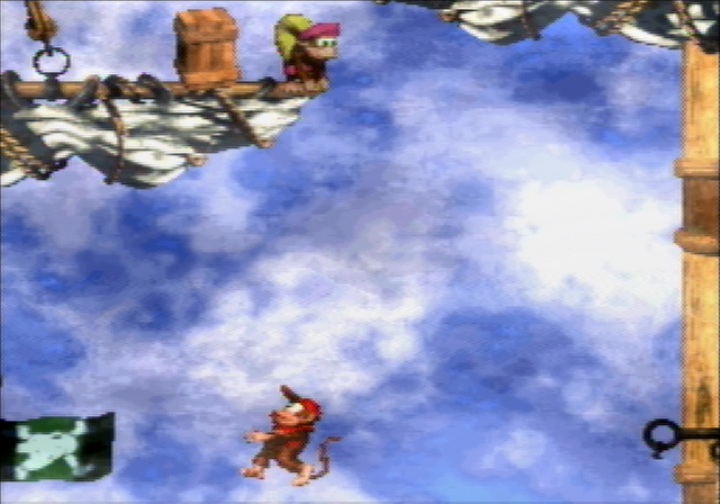
- Do not kill the first beetle in the stage.
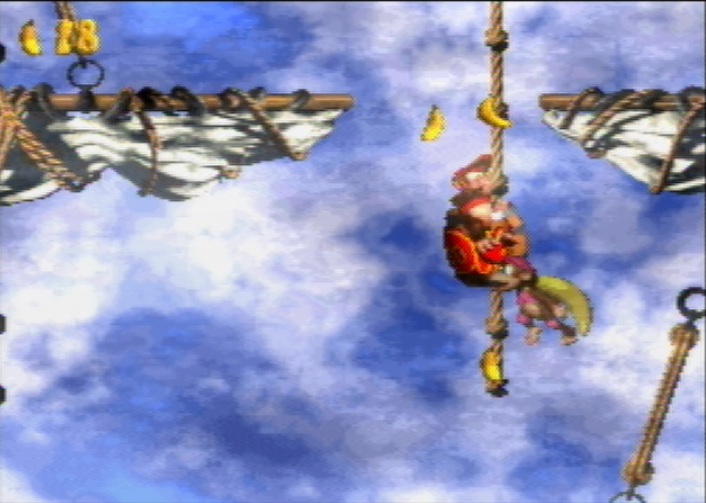
- Do not climb the rope too high, to avoid loading unnecessary sprites (might mess the IDs).
- (Optional) When hitting the beetle on the top mainbrace, facing right just before can help keeping the camera right.
- Optimally, you want to land close to the beetle and get a fast clash. The safer way would be to land further.
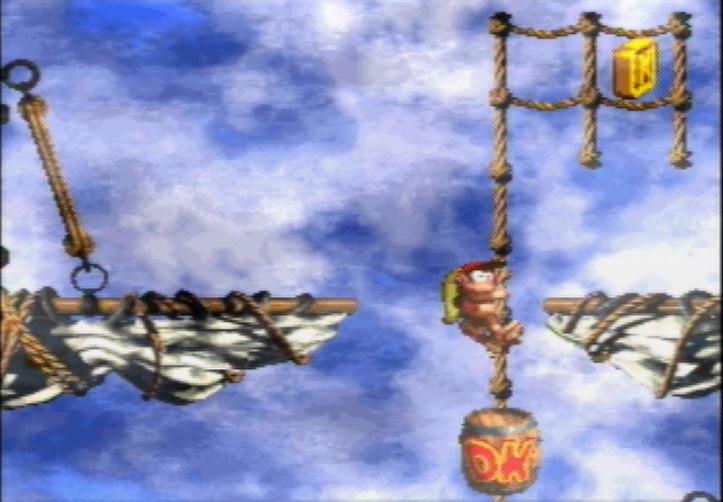
- The final jump requires you to go far enough to the right to make the natural warp of the level be off-screen. Once it is done, you slightly come back to the left for the throw. Not coming back to the left results in the banana bundle in the ropes being registered as a sprite, ruining the setup.
- If the setup was done properly, the window for the throw is easy to hit.
Backups
If you miss the throw
OLD WRONG WARP METHOD
- Climb up the ropes slightly and immediately jump left
- Basically, do NOT climb this high! Loading uneeded sprites can ruin everything.
- Use Beetle Clashing to get the Invisible Barrel
- Drop from the platform and hold left
- Holding left will allow the warp barrel to load. This allows the warp barrel to be moved to you when you throw the invisible barrel.
- All that's left is to land and throw the Invisible Barrel
- If the Invisible Barrel doesn't show up, there may have been a few things you did wrong.
- You didn't throw left
- You threw too high
- You threw too low
- You loaded some object (K) unnecessarily which messed up the setup.
- Where you throw horizontally is very lenient: you can throw to the left of the barrel that's already there or you can throw to the right of it. What's important is the vertical height which you throw at.
- In general, the throw is much more lenient compared to Topsail Trouble.
- The wrong warp will only save ~2s if done optimally and will lose 15s if failed. It is not recommended to go for this trick unless you are confident in your ability to land it!
