Difference between revisions of "Topsail Trouble"
| Line 20: | Line 20: | ||
{{#ev:youtube|Ya8YBzn9ehU|560||http://www.youtube.com/watch?v=Ya8YBzn9ehU}} | {{#ev:youtube|Ya8YBzn9ehU|560||http://www.youtube.com/watch?v=Ya8YBzn9ehU}} | ||
'''Notes''' | '''Notes''' | ||
| − | *[ | + | *[[Tricks#Goal_Swapping Goal Swapping | Goal Swapping]] |
| − | *[ | + | *[[Tricks#Fast_Doors Fast doors | Fast Doors]] |
| Line 36: | Line 36: | ||
[[File:ts1.jpg]] | [[File:ts1.jpg]] | ||
| − | *The first trick uses [ | + | *The first trick uses [[Tricks#True_Double_Jump | Rattly's True Double Jump]]. |
**TDJ timing is 3 frames; you want to press Y+A+B roughly when the red star is fully white. | **TDJ timing is 3 frames; you want to press Y+A+B roughly when the red star is fully white. | ||
***If Rattly does a normal jump on land, you have pressed A+B too late. | ***If Rattly does a normal jump on land, you have pressed A+B too late. | ||
| Line 47: | Line 47: | ||
[[File:ts3.jpg]] | [[File:ts3.jpg]] | ||
| − | *[ | + | *[[Tricks#Beetle_Clashing | Beetle Clashing]] on slopes is different than normal clashing. It must be done while in the air. |
[[File:ts4.jpg]] | [[File:ts4.jpg]] | ||
*If you made it this far, the throw is also tighter than the one in [[Mainbrace Mayhem]]. | *If you made it this far, the throw is also tighter than the one in [[Mainbrace Mayhem]]. | ||
| − | *Where you throw the invisible barrel in respect to your vertical height can make or break the [ | + | *Where you throw the invisible barrel in respect to your vertical height can make or break the '[[Tricks#Wrong_Warp | Wrong Warp]]! |
| − | *[ | + | *[[Tricks#Invisible_Barrel | Invisible Barrel]] |
</div> | </div> | ||
</div> | </div> | ||
Revision as of 08:47, 25 July 2015
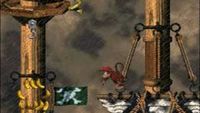 | |
| Game | Donkey Kong Country 2 |
|---|---|
| World name | Gangplank Galleon |
| Level name | Topsail Trouble |
| Previous level | Lockjaw's Locker |
| Next level | Krow's Nest |
Difficulty:
- Safe: 2/10
- Optimal: 9/10
Any%
The wrong warp route is intended for players who have some experience running the game already. Do not try if this is your first attempt.
DON'T YOU EVEN FUCKING DARE
Safe
Notes
Safe (Wrong Warp)
Notes
- If you cannot get the Wrong Warp, don't give up! It is one of the hardest Wrong Warps to get, and takes a lot of practice!
- It is estimated that this trick saves the most time out of all World 1 tricks, at ~3.5s
WRONG WARP TUTORIAL
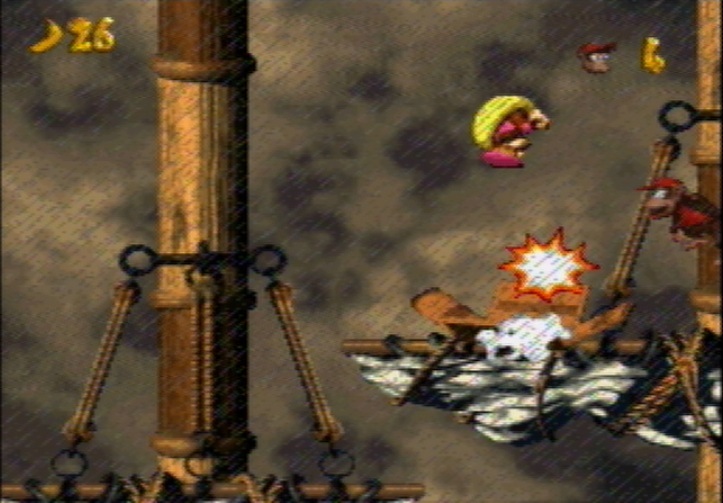
- The first trick uses Rattly's True Double Jump.
- TDJ timing is 3 frames; you want to press Y+A+B roughly when the red star is fully white.
- If Rattly does a normal jump on land, you have pressed A+B too late.
- If Rattly starts charging, you have pressed A+B too early.
- TDJ timing is 3 frames; you want to press Y+A+B roughly when the red star is fully white.
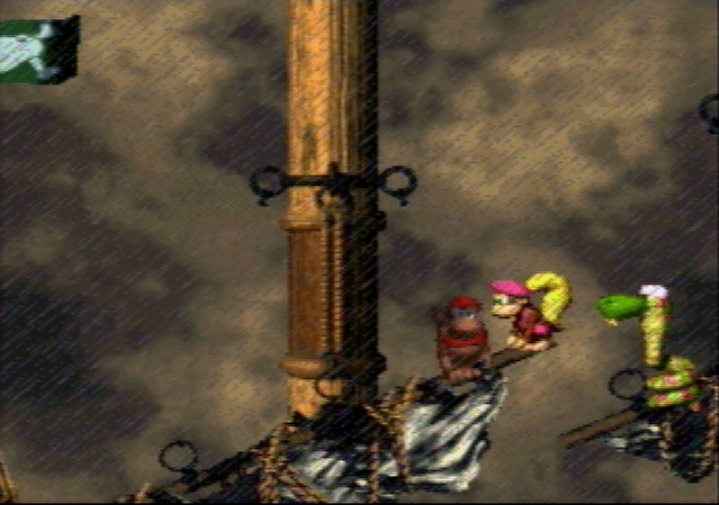
- Rattly must land on top of the platform; he must not fall!
- See backup video below if he does fall.
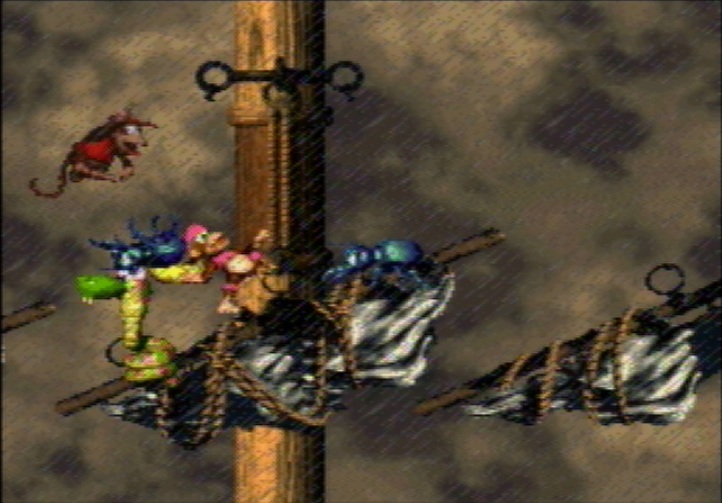
- Beetle Clashing on slopes is different than normal clashing. It must be done while in the air.
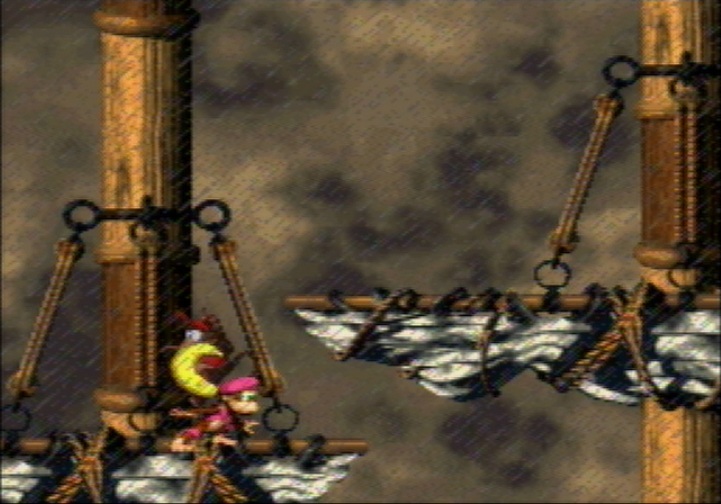
- If you made it this far, the throw is also tighter than the one in Mainbrace Mayhem.
- Where you throw the invisible barrel in respect to your vertical height can make or break the ' Wrong Warp!
- Invisible Barrel
Optimal
Additions
- Aim for a fast beetle clash, to avoid dixie's throwing animation. A slow clash is a bigger time sinks than it seems.
- Do not walk to the right to line yourself for the throw at the end. Do it as you fall.
- Throw as far left as you possibly can.
Backups
If you throw too high (shoutouts)
If Rattly doesn't land on the platform
- You want to wait for the beetle to get back on its feet. Be sure it happens on camera.
- Face right while waiting for the beetle to get up, otherwise it might not work.
